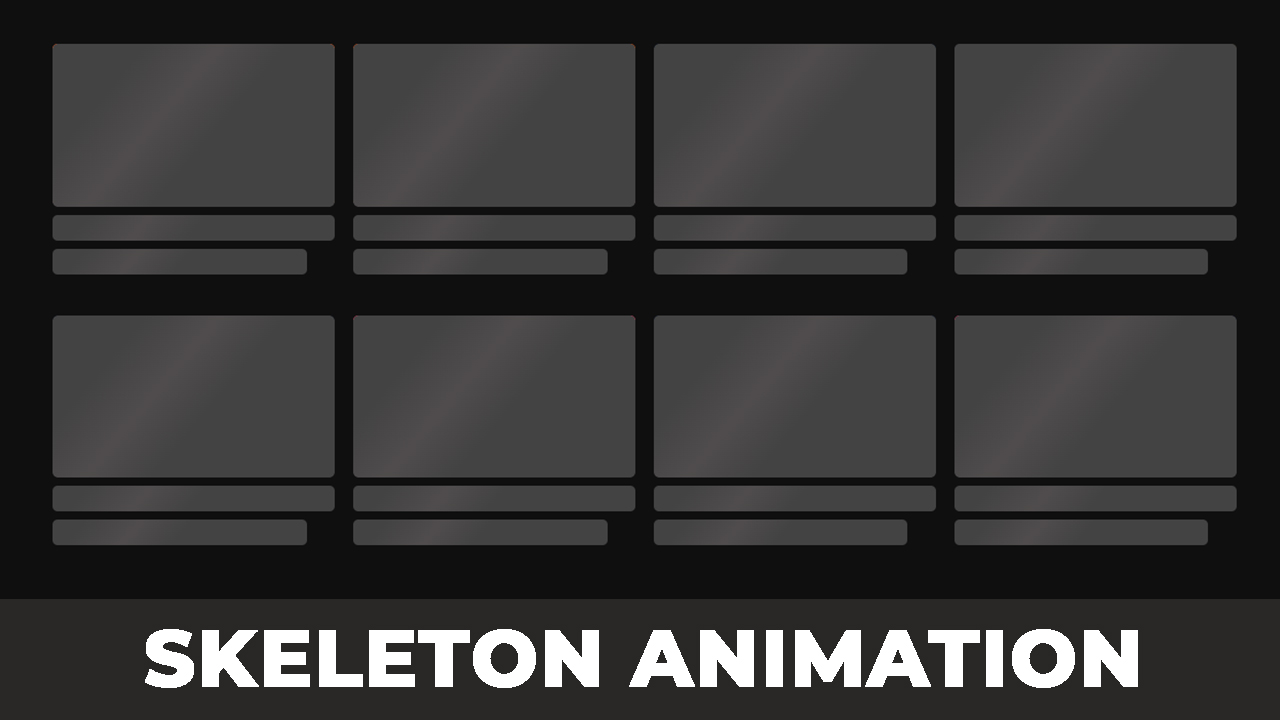
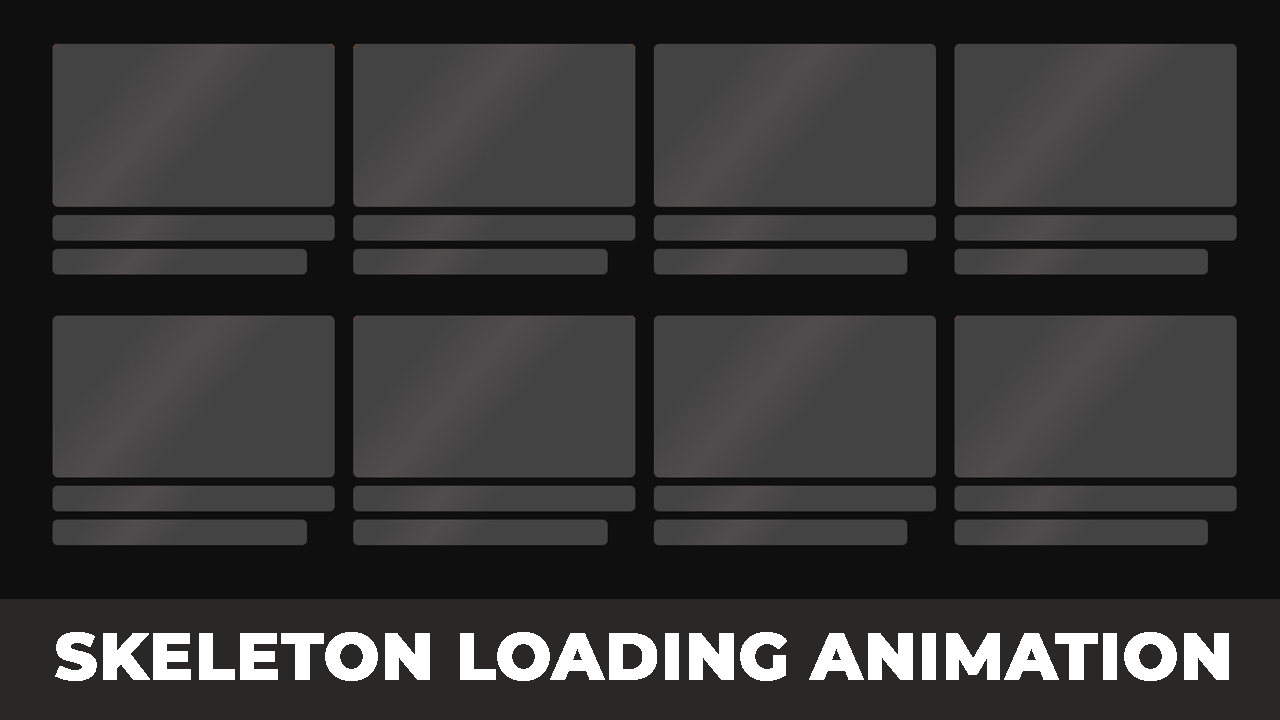
Welcome to our tutorial on how to create a skeleton loading animation using HTML, CSS, and JavaScript! Skeleton loading animations are a fantastic way to improve the user experience by displaying placeholder content while the actual content is being loaded. In this guide, you’ll learn how to implement a skeleton loading animation to keep your users engaged during data loading times.
Throughout this tutorial, you’ll discover how to build a skeleton loading animation step by step:
- Setting up the HTML Structure: Learn how to structure your HTML to create the foundation for your skeleton loading animation. This step is crucial for ensuring your animation looks and works correctly.
- Styling with CSS: Explore CSS techniques to style your skeleton loading animation, making it visually appealing and effective at mimicking the final content layout. A well-styled skeleton loading animation can significantly enhance the perceived performance of your website.
- Adding Interactivity with JavaScript: Dive into JavaScript to bring your skeleton loading animation to life, ensuring it dynamically adapts to your content loading process.
By the end of this tutorial, you’ll be able to create a skeleton loading animation that not only looks great but also provides a smooth and engaging user experience.
Skeleton Loading Animation Using HTML CSS and JavaScript
If you want to make a Skeleton Loading Animation Using HTML CSS and JavaScript, then you have to follow the steps which are given below. Using these steps, you can easily create the Skeleton Loading Animation.

Step 1: First, create an HTML file with the name of index.html and paste the given codes in your HTML file. Remember, you’ve to create a file with .html extension.
HTML CODE:
<!DOCTYPE html>
<html lang="en">
<head>
    <meta charset="UTF-8">
    <meta http-equiv="X-UA-Compatible" content="IE=edge">
    <meta name="viewport" content="width=device-width, initial-scale=1.0">
    <title>How to create a Skeleton Loading Animation using html css and javascript | Website Loading Animation | CodeBari</title>
    <link rel="stylesheet" href="style.css">
</head>
<body>

    <div class="wrapper loading">
        <div class="container">
            <div class="box_wrap">
                <div class="single_box">
                    <div class="thumbnail">
                        <img src="img/1.jpg" alt="">
                    </div>
                    <div class="info_wrap">
                        <h2 class="title">Lorem ipsum dolor sit amet.</h2>
                        <h4 class="sub_title">Lorem ipsum dolor sit amet.</h4>
                    </div>
                </div>
                <div class="single_box">
                    <div class="thumbnail">
                        <img src="img/2.jpg" alt="">
                    </div>
                    <div class="info_wrap">
                        <h2 class="title">Lorem ipsum dolor sit amet.</h2>
                        <h4 class="sub_title">Lorem ipsum dolor sit amet.</h4>
                    </div>
                </div>
                <div class="single_box">
                    <div class="thumbnail">
                        <img src="img/3.jpg" alt="">
                    </div>
                    <div class="info_wrap">
                        <h2 class="title">Lorem ipsum dolor sit amet.</h2>
                        <h4 class="sub_title">Lorem ipsum dolor sit amet.</h4>
                    </div>
                </div>
                <div class="single_box">
                    <div class="thumbnail">
                        <img src="img/4.jpg" alt="">
                    </div>
                    <div class="info_wrap">
                        <h2 class="title">Lorem ipsum dolor sit amet.</h2>
                        <h4 class="sub_title">Lorem ipsum dolor sit amet.</h4>
                    </div>
                </div>
                <div class="single_box">
                    <div class="thumbnail">
                        <img src="img/5.jpg" alt="">
                    </div>
                    <div class="info_wrap">
                        <h2 class="title">Lorem ipsum dolor sit amet.</h2>
                        <h4 class="sub_title">Lorem ipsum dolor sit amet.</h4>
                    </div>
                </div>
                <div class="single_box">
                    <div class="thumbnail">
                        <img src="img/6.jpg" alt="">
                    </div>
                    <div class="info_wrap">
                        <h2 class="title">Lorem ipsum dolor sit amet.</h2>
                        <h4 class="sub_title">Lorem ipsum dolor sit amet.</h4>
                    </div>
                </div>
                <div class="single_box">
                    <div class="thumbnail">
                        <img src="img/7.jpg" alt="">
                    </div>
                    <div class="info_wrap">
                        <h2 class="title">Lorem ipsum dolor sit amet.</h2>
                        <h4 class="sub_title">Lorem ipsum dolor sit amet.</h4>
                    </div>
                </div>
                <div class="single_box">
                    <div class="thumbnail">
                        <img src="img/8.jpg" alt="">
                    </div>
                    <div class="info_wrap">
                        <h2 class="title">Lorem ipsum dolor sit amet.</h2>
                        <h4 class="sub_title">Lorem ipsum dolor sit amet.</h4>
                    </div>
                </div>
            </div>
        </div>
    </div>

    <script>
        // Remove 'loading' class name after website load.

        setTimeout(function(){

            document.querySelector(".wrapper").classList.remove("loading");

        }, 4000)

    </script>

</body>
</html>
Step 2: Now, create a CSS file with the name of style.css and paste the given codes in your CSS file. Remember, you’ve to create a file with .css extension.
CSS CODE:
*{
    padding: 0;
    margin: 0;
    box-sizing: border-box;
}
img{
    width: 100%;
}
body{
    background: #0f0f0f;
    width: 100%;
    height: 100vh;
    padding-top: 20px;
}
.container{
    width: 90%;
    max-width: 1170px;
    margin: auto;
}
.box_wrap{
    display: flex;
    align-items: center;
    justify-content: center;
    column-gap: 18px;
    flex-wrap: wrap;
}
.single_box{
    flex-basis: 23.5%;
    margin-top: 20px;
    margin-bottom: 20px;
}
.thumbnail img{
    width: 100%;
}
.thumbnail{
    border-radius: 5px;
    overflow: hidden;
}
.title,
.sub_title{
    color: #fff;
    width: 100%;
    min-height: 25px;
    margin-top: 8px;
    padding: 0px 6px;
    font-family: sans-serif;
}
.title{
    font-size: 18px;
    font-weight: 500;
}
.sub_title{
    font-size: 15px;
    font-weight: 400;
}

/* Skeleton Loading Animation css*/
.loading .title,
.loading .sub_title,
.loading .thumbnail{
    position: relative;

}
.loading .title,
.loading .sub_title{
    height: 25px;

}
.loading .title:after,
.loading .sub_title::after,
.loading .thumbnail::after{
    content: "";
    position: absolute;
    background: #434343;
    height: 100%;
    width: 100%;
    left: 0;
    top: 0;
    border-radius: 5px;
    background: linear-gradient(130deg, #434343 50%, #4f4c4c 60%, #4f4c4c 61%, #434343 70%);
    background-size: 200%;
    background-position: 100% 0;
    animation: waves 1.8s linear infinite;
}

.loading .sub_title:after{
    width: 90%;
}

@keyframes waves {
    100%{
        background-position: -100%;
    }

}

/* Responsive Css */
@media screen and (max-width:767px){
    .single_box{
        flex-basis: 100%;
    }
}


